This FAQ is helpful to AS Staff who need to create a preset to print in Black and White to the Admin Konica printer but the instructions can be applied in general to other printers in a similar manner by just changing the selected printer name.
Step 1:
Open up Microsoft Word and create a test document. Write one line and make it red font or another color. That way when you print with your preset, if it prints in Black and White you will know your preset was created successfully.
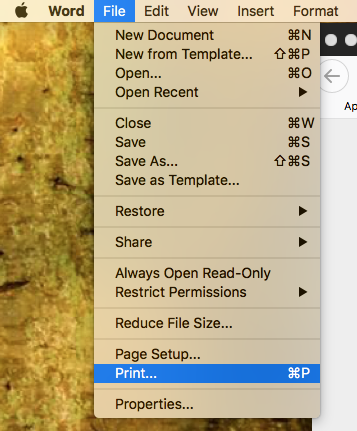
From the MS Word menu select “File” and then select “Print”
Step 2 & 3:
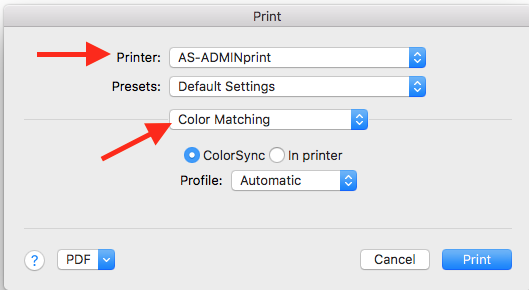
For the “Printer:” name make sure you have the Admin printer selected on the 1st drop-down menu. It may not necessarily have the same name as mine but something similar.
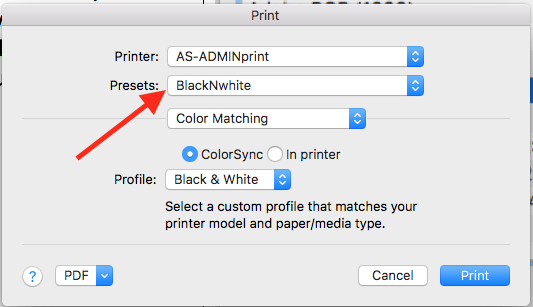
Change the “Copies & Pages” choice to “Color Matching” on the third dropdown menu
Step 4:
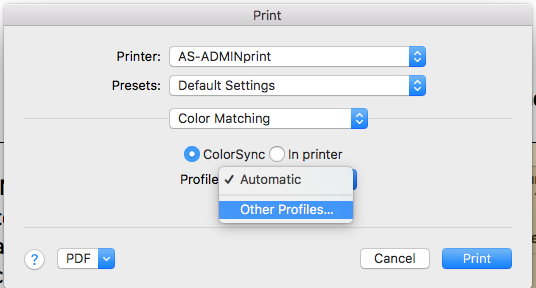
Select “Other Profiles” on the 4th dropdown menu
Step 5:
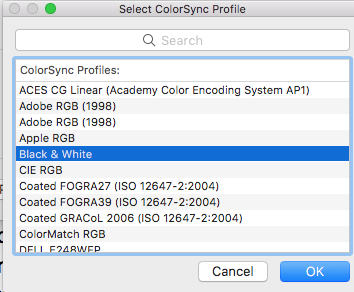
On the next ColorSync Profiles window select Black and White and click the OK button
Step 6:
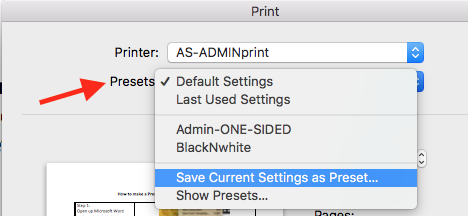
Before you hit the print button, save the preset.
On the second dropdown next to “Presets:” change its option from Default Settings to “Save Current Settings as Preset”
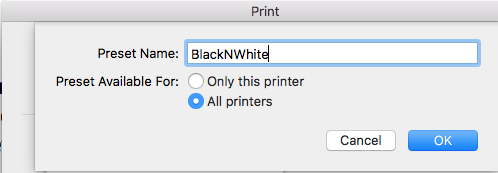
and on the next window type “BlackNWhite” for the preset name and click OK.
Step 7:
Now you are ready to print but the first time you do this, hit the Option key while you press the Print button at the same time so that it becomes your default printing preset.
Please note that you press the Option + Print at the same time only once. The next times you print you just have to make sure the “BlackNWhite” preset is selected before sending your job to the Admin Konica printer and hit print as usual. That’s it.